My First Mini-Project in SUI-Move - Part 2


Note: Read the previous part before starting: 1. Part-0, 2 Part-1 ( must-read ) With Part 1 of this article series, you've already internalized the fundamentals of ABI encoding. We’re now ready to move deeper into complex structures that Solidity developers use every day: structs, arrays, and deeply nested

For Solidity developers, ABI Encoding/Decoding is THE topic to master. It's one of those topics that separates you from the rest - makes you a 10x solidity dev. On the other hand, it's a topic that could be very difficult to grasp. It's
![Why Learn Hard Solidity Things [ ABI Encoding Series: Part 0 ]](https://storage.ghost.io/c/46/35/4635d1f6-d86a-4e97-a594-818a3a258861/content/images/size/w600/2025/06/ChatGPT-Image-Jun-8--2025--07_07_45-PM.png)
Solidity is EASY. It's a simple and beautiful language. With the rise of excellent educational resources, courses, dev-tools, and LLMs, learning and writing Solidity has never been easier. But here's the hard truth — if it's easy for everyone to get started, it's
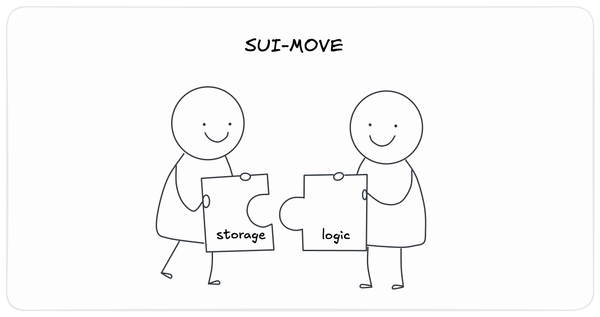
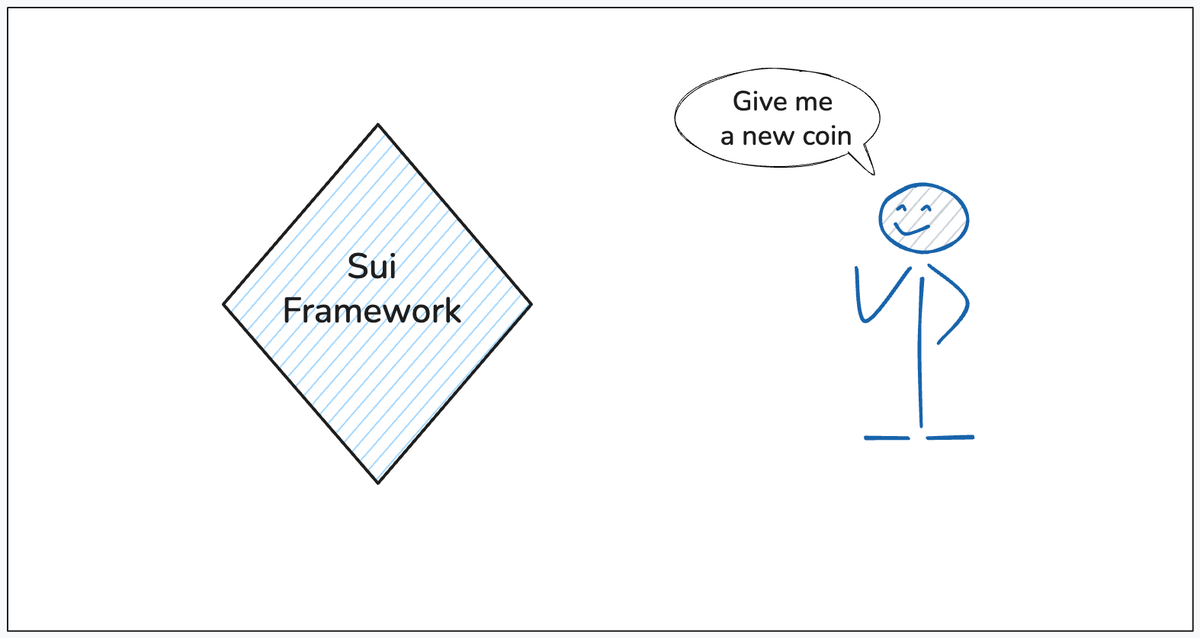
I recently tried a new smart contract language, MOVE. The language is inspired by Rust, so it's not intuitive for Solidity devs. However, it's super fun to build with. In this article series, I aim to provide an introduction to the Move language and its features.